Pages

Sunday, November 30, 2014

November Elizabeth Craft Designs Design Team Challenge - Gifts

Hi Everyone!
It's time for the Elizabeth Craft Designs Design Team Challenge for November. With Christmas right the corner the theme is gifts. Make sure to visit the ECD blog to see all the amazing projects from the Design Team members and get some great holiday gift inspiration!

Today I have 2 projects to share with  you. The first is a mini sketch book I created for my son, who is an art student.


I created the tiled look on the cover using Shimmer Sheetz, Sea Glass Embossing Folder, the small gear from Karen Burniston's Clocks and Gears die and some alcohol ink.

1. Cut a piece of Light Blue and a piece of Bronze Metallic Shimmer Sheetz large enough to fit the cover of the sketch book
2. Emboss the pieces using the Sea Glass Embossing Folder and ink the embossed side with brown and blue Stazon Ink.
3.Back the Shimmer Sheetz with the new ECD Transparent Double Sided Adhesive. Use a 1 1/8 square punch to punch out the tiles and adhere to the cover of the mini sketch book.
4.Add finishing details of a few metal buttons and the small gear diecut from Karen Burniston's Clocks and Gears die to complete.

 I wanted a masculine look for my son. I thought it turned out nicely and could easily be converted to any theme by changing the colors and embossing folders. 

The 2nd project I created was a Tag Gift Card Holder featuring Chilly the Penguin.


'


Tag Gift Card Holder:
1. Ink tag on both sides with blue ink. Ink both white pieces with blue ink.
2. Score tag at 1 1/2”. Fold up and add adhesive to the inner edges to form the pocket with the dotted side out.
3. Adhere red reinforcer to hole on top. Adhere trees behind top right of red piece then adhere to pocket front.
4. Adhere “to and from” piece on back (dotted side) about 1/8” from bottom. Add 1 lrg and 2 sm snowflakes, add glitter dots to centers. Add 2 sm snowflakes to front of tag. Add glitter dots to centers.
5. Assemble Chilly. Tie tinsel around his neck and secure with glue dots. Add 1 large snowflake with a glitter dot in the center to top left of Chilly's head. Adhere Chilly to left front of pocket on foam adhesive making sure not to adhere above the pocket so the pocket can open to place gift card.
6. Tie blue elastic in a loop. Thread through middle of red ribbon and loop through top hole, leaving loop in back. Tie black and white twine around red ribbon with a bow on the front to complete. Loop is for attaching to packages.

I hope you enjoyed these projects and found a little inspiration for your holiday gift giving.

Don't forget to stop by the ECD Blog to see the rest of the Design Team Challenge projects.

Elizabeth Craft Designs Supplies used:
SS0230 Light Blue Metallic Shimmer Sheetz, SS0215 Bronze Metallic Shimmer Sheetz, ECD Transparent Double Sided Adhesive,908 Chilly the Penguin die, 914 Outdoor Edges die,  951 Tags and More 1- Lace, 917 Clocks and Gears die, E125 Sea Glass Embossing Folder, 718 Assorted Glitter Dots, 8530 Snowflakes Small Peel Off

Friday, November 28, 2014

Tutorial on ECD Blog today- Plaid Christmas Candles Card

Hello Friends!
I hope you had a great Thanksgiving yesterday! I wanted to let you know that I am featured on the Elizabeth Craft Designs Blog today with a tutorial for this card:


Stop by and see how I made this card and let me know what you think. I love reading your comments!

Have a great day and Happy Holidays!

Thursday, November 27, 2014

Turkey Easel Card- Happy Thanksgiving!

Happy Thanksgiving everyone! I hope your day will be filled with family, friends, love and laughter- oh yeah and a bunch of great food!

To celebrate Turkey day I want to share a card we made in my DistINKtive card class this month.


Isn't it cute? The turkey is from the Silhouette Studio, The Stand Up Helper is from Elizabeth Craft Designs.  This design can easily be adapted to any occasion by changing the pattern paper and the focal point on the easel.  Here are the assembly instructions from class..enjoy!

Turkey Easel Card

Fold white card base in half. Cut card front 1 ¼ from both top and bottom from the edge to the fold, leaving a 3” section in the center. Ink all pieces with brown ink. Adhere pattern pieces to sections of card front. Adhere down side panels. Make a pencil line on yellow piece 1 1/2” from bottom. Line up leaf stand up helper in center on line and diecut. This will be your stopper for the easel. Adhere to inside center section of card- making sure not to get adhesive on leaves. Score center panel on card front in the middle. Fold in half and crease well.
Turkey- Ink all pieces with brown ink. Ink feather pieces lightly with gold ink. Assemble turkey, popping up body from feathers. Add small black glitter dots for eyes. Adhere to card front on a pop dot below the fold so the turkey stands up when easel is folded.
Stamp Happy Thanksgiving in brown ink on bottom of yellow inner panel, below the stand up helper. Add red oak leaf to stand up helpers to complete. 

Thursday, November 13, 2014

Perching Poppy Thank You Card - ECD Blogpost

Hi Friends!
Today is my turn to share a project and a tutorial on the Elizabeth Craft Designs Blog.  I created a fun card using Poppy the Owl, the new Bark embossing folder (my fav!) and a fun technique with different colors of Silk Microfine Glitter. Stop by and see how I made this card and let me know what you think!


Happy Fall!
Debra

Friday, October 31, 2014

October Elizabeth Craft Designs DT challenge- Tags

Hello Crafty Friends!
It's the end of the month and that means it's time for the Design Team Challenge from Elizabeth Craft Designs. This months theme is Tags- in celebration of the release of our 3 new tag dies.

I created two projects - a Fall Tag and a Birthday Tag card. Here they are together.


The Fall Tag


This Tag was created using Tags 3 die. I diecut the tag from pattern paper and inked it with brown ink and then diecut the decorator piece at the top. I added two decorative corners at the bottom in green and filled in some of the leaf holes on the top with the opposite side of the pattern paper for interest. I added the negative of a set of pumpkins from the Pumpkins Peel-Off in Gold using a Transfer Sheet. I diecut Thank You from the same pattern paper and added it on a green mat that was also inked with brown ink. A green ribbon through the top and your tag is complete. I think it would go perfect attached to a loaf of pumpkin bread or a pumpkin pie!

Birthday Tag Card


This tag card was created using Tag 2 die. I folded an A2 size piece of blue cardstock in half and diecut the top shape, making sure to leave the die hanging off slightly from the folded edge. Once diecut trim the excess from the edge and you have a tag shaped card. Again I used the decorator piece to diecut the front of the card only and then embossed the front with the Lots of Pops embossing folder.  I glittered and colored one of the cakes and 3 candles from the Funky Cakes Peel-Off and colored it with Copic Markers. I diecut the Happy Birthday from the new Karen Burniston Happy Birthday Pop Up die and added it to the front. A bit of ribbon, some black glitter dots and a few embellishments complete the card. These are so easy to make and can be altered for any occasion. Give it a try!

Elizabeth Craft Designs Products used:


Thursday, October 30, 2014

Happy Birthday Pop Up

Howdy!
Just a quick post to share a card I made using Karen Burniston's new Happy Birthday Pop Up die. I love this die! It's easy to use and has a big Wow! factor when you open it up. It also comes with a great big Happy Birthday sentiment die that fits on the pop up but can also be used by itself- and some cute stars too!


I kept the front simple- a bit of pattern paper, a bow and a few stamped balloons colored with Clear Wink of Stella for some sparkle.


The die does all the work for you on the inside. Just add the decorator dies and you have a bright and cheery  Happy Birthday Pop Up sure to bring a big smile!

Have a great day and thanks for stopping by!

Thursday, October 23, 2014

Fall Birthday Spiral Pull Card

Hi Everyone,
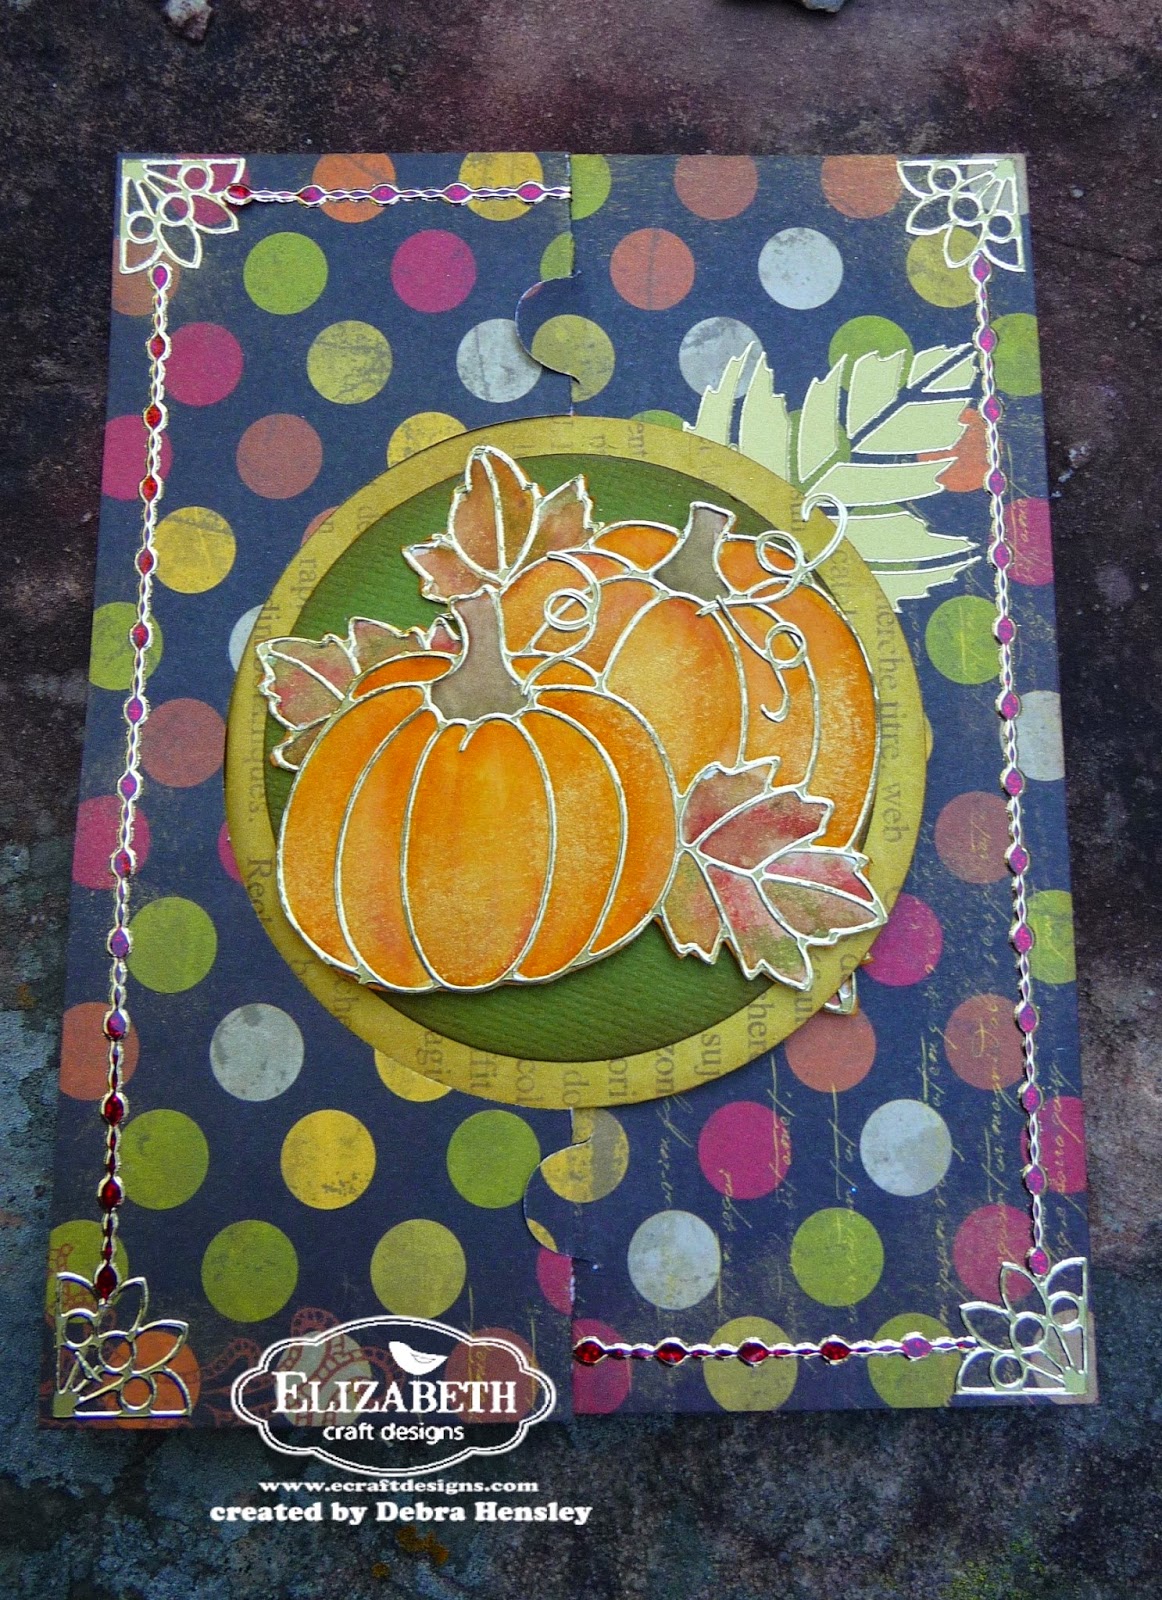
Today is my day to share a project on the Elizabeth Craft Designs Blog. I used the Spiral Circle Pull Card die and the Pumpkins Peel-Off colored on water color paper to create a Fall themed birthday card.. Come on by the blog and see how I made this fun card and let me know what you think!


Monday, October 20, 2014

Halloween Fun!

Howdy Y'all!
There is beginning to be a slight coolness in the air here in Texas, a few leaves are dropping and the stores are full of candy- must mean Halloween is around the corner! Today I'd like to share two cards we made in my DistINKtive cards class last week at Scrapp'n Savvy. They were lots of fun to make!

The first card is a Tag Card inspired by Raquel Mason's card found here on the ECD Blog. I absolutely loved the idea of the tag card and wanted to use it in class. My version is very similar-imitation is the highest form of flattery, right! :-) I had a lot of fun coloring on the glittered Peel-Off and trying to get some distinct shading. I love how the hat turned out! This witchy is so fun to color!


Inside I made use of all the adorable little accessory images and stars on the Peel-Off sheet.. there is so much to play with!


The second card uses Karen Burniston's new Honey the Bear die. He's so cute and you can do so much with him! I used more of the stars and a candy corn from the Halloween in Frames Peel-Off. I even found a pair of stars that made perfect glasses for Honey's costume. The hat is from the Snowman die and the grass is from Outdoor Edges Die.


Thanks for stopping by today! I hope you have a great week and try making your version of one of these fun cards!

Elizabeth Craft Products used:
914 Outdoor Edges 
929 Snowman
948 Honey the Bear
951 Tag 1
2585 Halloween in Frame


Thursday, October 16, 2014

Owl's it going?

Hi Everyone!
Just a short post today to share one of the cards we made in my Copic Cards class at Scrapp'n Savvy. I found this delightful owl image free on the web and thought it would be lots of fun to color. It was a great image to practice flicking- the most important technique for coloring with Copic Markers.


Copic Marker Colors used: Y23, Y26, W3, E31, E23, E25, E27, YG06, YG07, YG09, B00, B02
Thanks for stopping by!
Debra

Monday, October 6, 2014

Elizabeth Craft Designs and Ruby Rock-it Blog Hop


Hello Ruby Rock-It and Elizabeth Craft Designs Fans! We are very excited to be partnering together this month, and to bring you this fun blog hop!

Each of our companies is offering a beautiful prize! Here's all the fun details on how you will be eligible to win!

Start at the beginning of our hop right here! And then simply follow the order listed below, making sure you stop and leave some love in the comments section for each designer! Please make sure to include your email in the comments section, so we will be able to contact you should you win!  

For additional chances to win:

"Like" Ruby Rock-It and Elizabeth Craft Designs on Facebook, and leave a comment, letting us know you came from our blog hop.

Comments will close Friday, October 10th at 11:59pm PST, and we will announce our winners the following week! Be sure to come back next week to see if you have won!

Debra Hensley   (That's Me!)

Ruby Rock-It is offering our beautiful Essence Empire Bebe collection to one lucky winner!


And the Elizabeth Craft Designs prize is a package full of fun Peel-Offs from their new collection, Stand Up Helpers Set 2 and a pack of Watercolor paper.


Hello and Welcome to the Blog Hop. I'm so excited to share the cards I created with the wonderful Ruby Rock-It papers and embellishments and the Elizabeth Craft Designs Products! 

For my first card, I decided to use the Lorna Label Pop Up Die to make a fun Happy Birthday Card. The Ruby Rock-It glittered embellishment diecuts needed lots of space to shine and the Loran Label Pop Up is the perfect base to do that. 

Here is the front of the card.


Here is the inside where the party begins!


To make this card, cut a standard A2 size, 8 1/2 x 5 1/2, cardbase from red cardstock. Fold in half. Diecut the Lorna Label from the Meadow pattern paper from the Ruby Rock-It Handi Scandi Paper line. The trees are so cute!! Pop out the pop ups, trim a to fit inside the card base and adhere, making sure not to get adhesive on the actual pop up elements. Die cut a large Lorna Decorator Label in red and a small one in yellow cardstock. Adhere the Happy Birthday Peel-Off to the small yellow label. Adhere both to the pop up label with the yellow one on pop dots.  Add various diecuts to decorate. Diecut the Birthday Hat in yellow, blue and red from the new Props 2 die .Adhere to the bears head. Cut a piece of yellow cardstock to 5 1/4 by 2. Tie blue and white twine around it with a bow in the front. Adhere to bottom of inside card on pop dots. Add mushrooms. Decorate the card front with a 5 1/4 x 2 piece of Meadow pattern paper with a piece of yellow, red and blue twine tied in a bow on the front. Add on pop dots. Add mushrooms and bird to finish off.

Here is a close up of the pop-ups


My Second card is also a Birthday Card using the Ruby Rock-It Floriade Pattern Paper from the Handi Scandi Line. I love the blue floral print so much I had to make a card out of it. I used the  Accordion Oval Card Die to frame and highlight the embellishments.


To make this card emboss the front of a standard A2 size card made from white cardstock with the Lots of Dots Embossing Folder from Elizabeth Craft Designs. I love this folder and use it a lot! Diecut one Accordion Oval Card panel from the pattern paper and trimmed out the center and cut off the tabs from the oval and the panel.  Tie a length of red and white twine around the right side of the oval frame with a bow in the front and then adhere the frame on pop dots to the card front. Adhere the pattern oval directly to the center of the card and add a smaller oval in red on pop dots. Add the adorable glittered Owl and Flowers to the center for the focal point. To complete the card  diecut Happy Birthday in white cardstock and adhered it above the oval following the curve. 

Thanks for stopping by the Elizabeth Craft Designs and Ruby Rock-It Blog Hop! I hope you enjoyed my cards and got a little inspiration to use all these amazing products! Don't forget to visit all the other Designer's Blogs in the Blog Hope and leave a comment with your email address to qualify to win the fantastic prizes!

Elizabeth Craft Products Used:

Other Products
Ruby Rock-It Handi Scandi paper line and embellishments.
Ruby Rock-It twine
Pop Dots
Brown Ink
Tombow Mono Adhesive